Links for January 2022
By Robert Ellison.
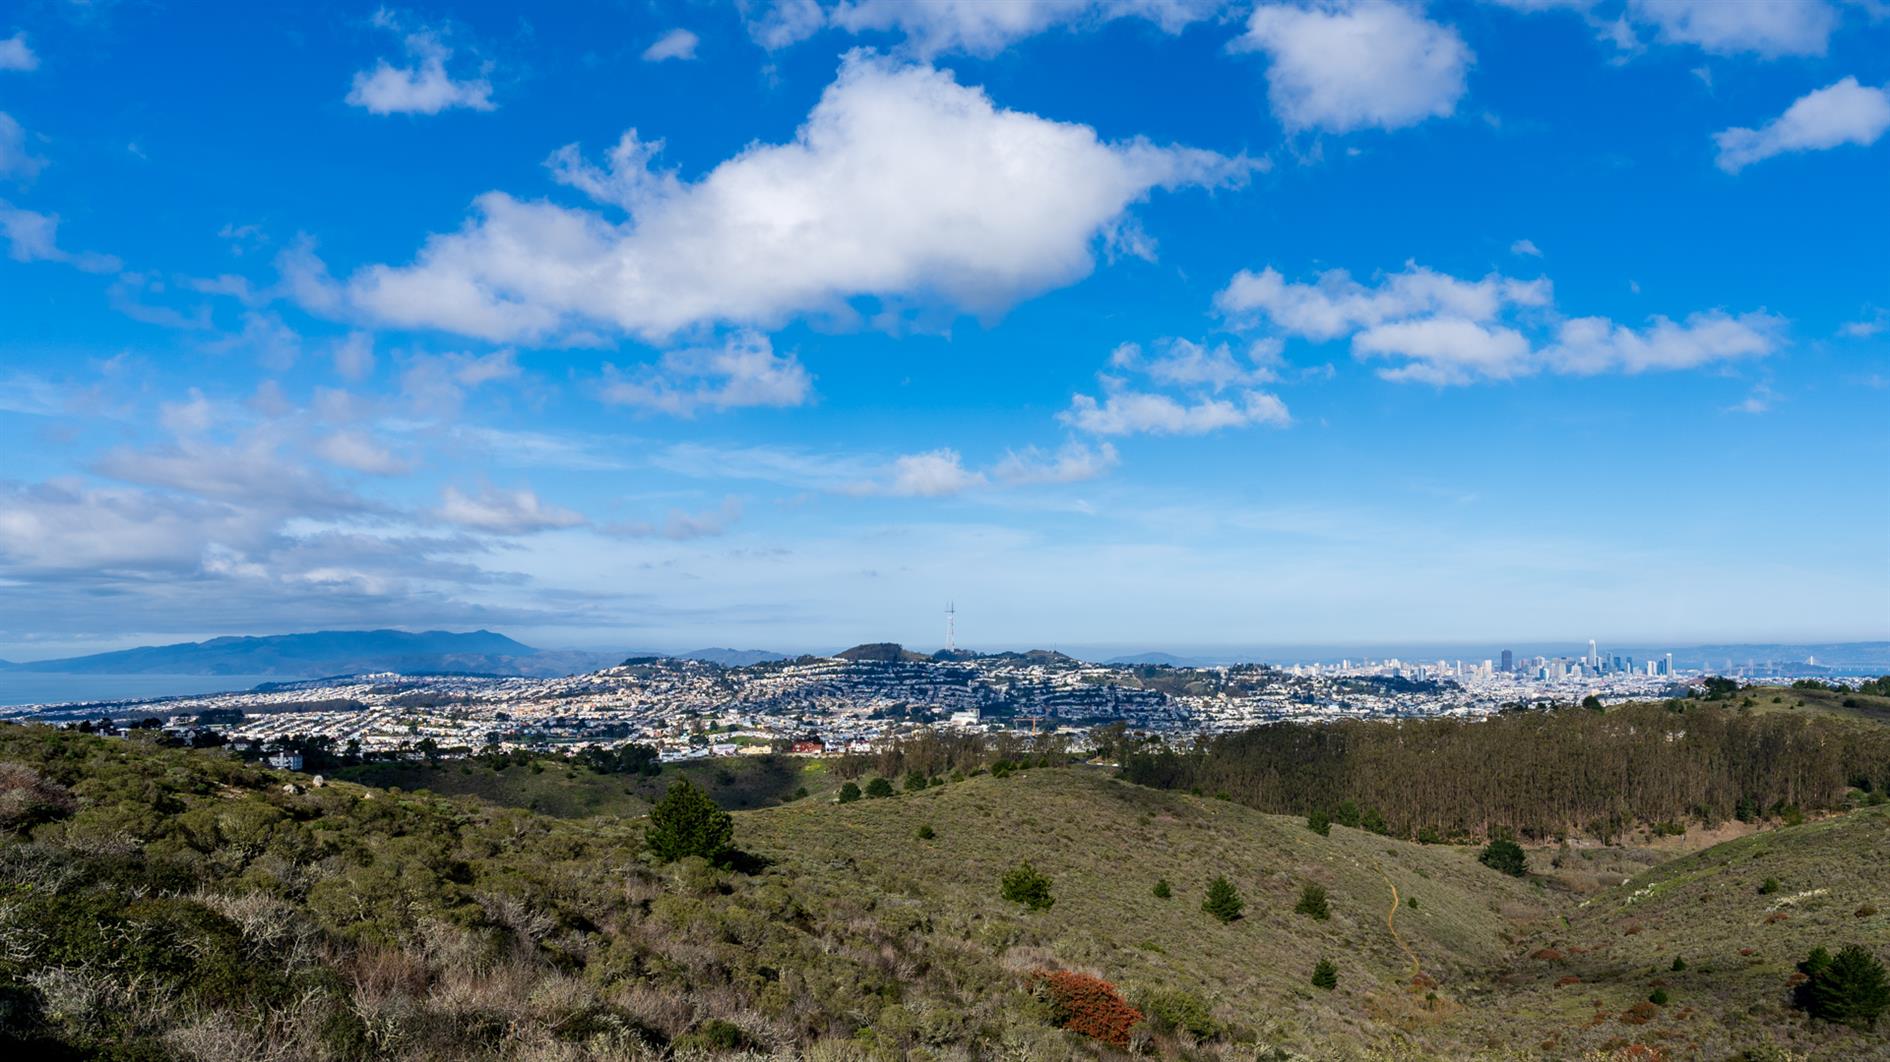
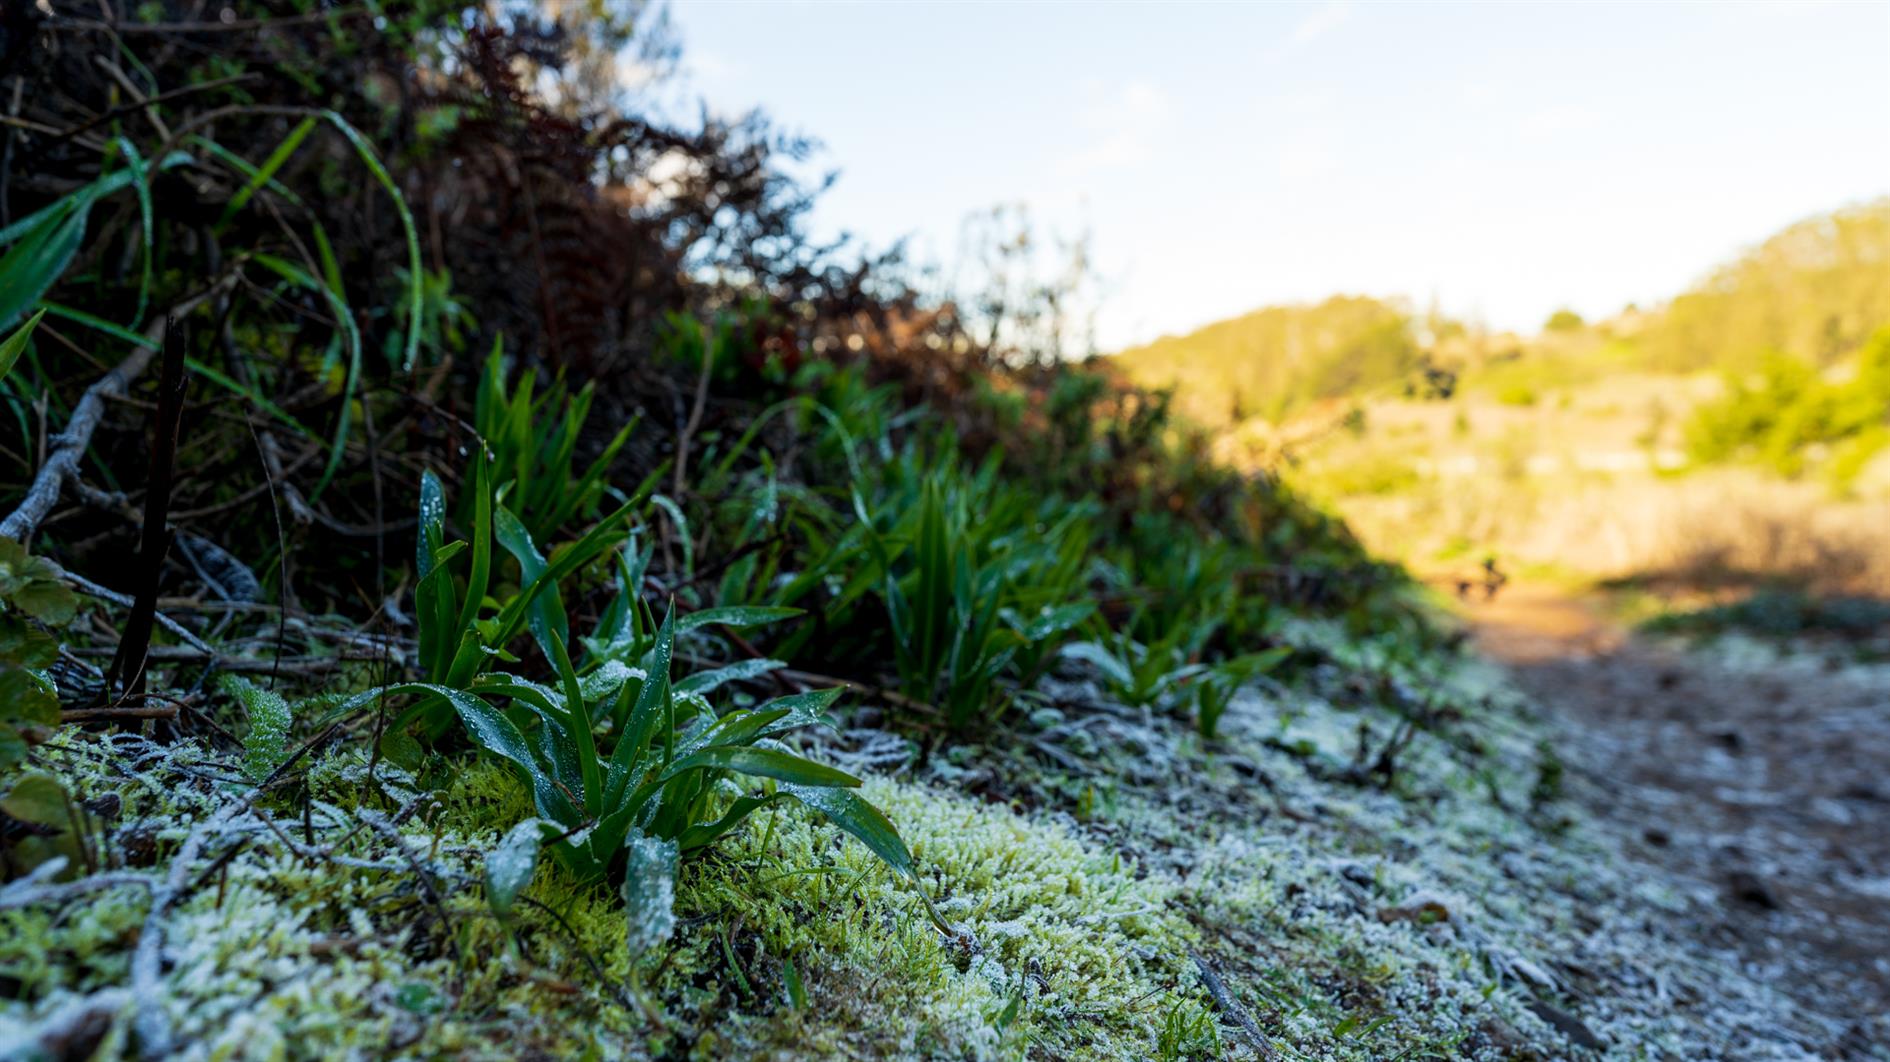
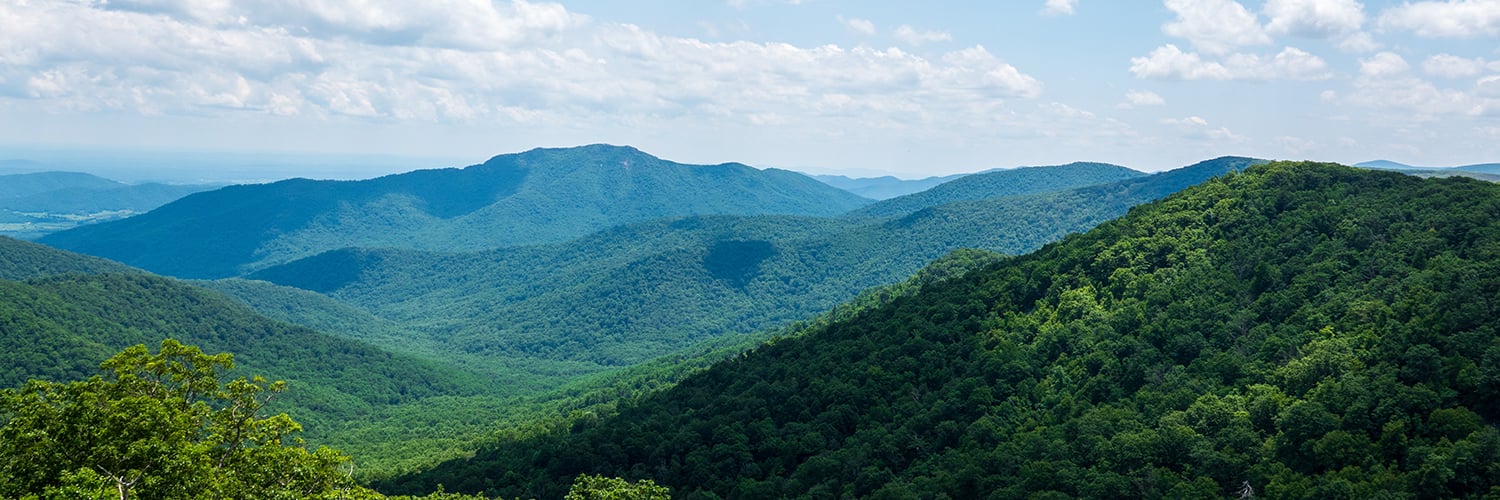
Summit Loop is a three mile hike around San Bruno Mountain, a 1,319 peak just south of San Francisco. For some reason, possibly a lack of desire to wrestle with bridges, it has become a family favorite for the first hike of the new year. Fantastic views and scenery at any time of the year, although it is especially good in the spring with all the wildflowers. I'm adding a fresh post on this hike as I noticed the GPS track is broken on the last one (I'll redirect that here) and I have a video of the hike to add as well (a little cloud focused, but it was that kind of day):
Hike starts at: 37.695247, -122.43443. View in Google Earth.
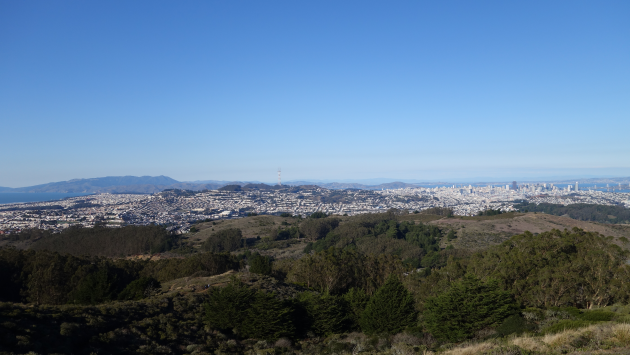
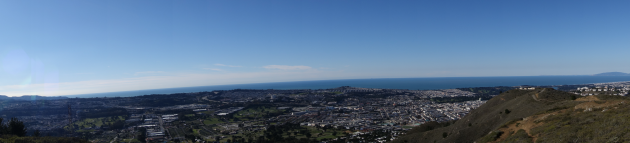
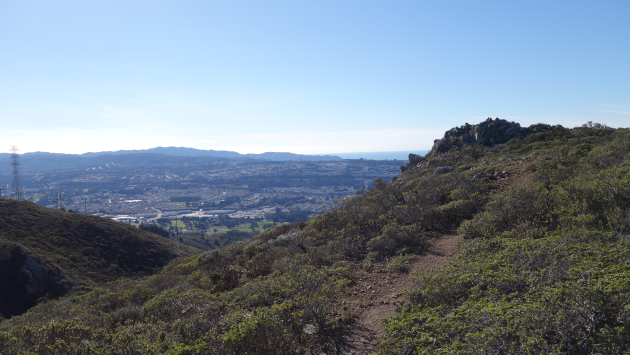
San Bruno Mountain State Park has outstanding views of San Francisco, the Pacific out to the Farallon Islands and much of the bay. We did the three mile summit loop (the wrong way round, San Bruno pros do it counter-clockwise).
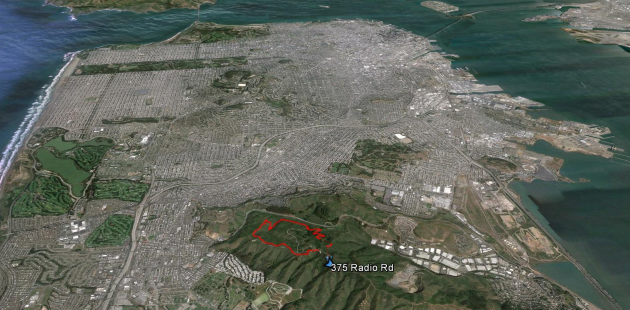
Hike starts at 37.6888964,-122.437008 (Google Earth).
(Hike Map)
(Published to the Fediverse as: Summit Loop, San Bruno Mountain #hike #sanbruno #hikevid #map #video Three mile loop hike up to the 1,319 summit of San Bruno Mountain in San Mateo County, California. )

Timelapse around the shoreline of San Francisco:
This could be arbitrarily long of course, but I only had a day to shoot and picked six spots: the lookout at Fort Funston, the Camera Obscura next to the Cliff House, Eagles Point on the Lands End trail, the Marina Yacht Harbor, Pier 7 and the Giants Promenade Pier.
Shot on a Sony A7C with the 20mm 1.8 G and a Ronin SC. This is the first time I've used the Ronin SC for timelapse and it sucks. Works great for video, can't pan 180 degrees in timelapse mode without introducing shake though. Processed using LTTimelapse, Lightroom, DaVinci Resolve (with a lot of stabilization to fix the Ronin issues) and Filmstro Pro. The finished product is 4K, 60fps. Filmed December 30, 2021 (I usually do something on New Year's Eve but the clouds looked more promising the day before this year).
(Previously: San Francisco New Year's Eve Timelapse 2020)
(Published to the Fediverse as: San Francisco Shoreline Timelapse #timelapse #sanfrancisco #4k #video 4k 60fps timelapse around the San Francisco shoreline including Fort Funston, Camera Obscura, Lands End, Marina Yacht Harbor, Pier 7 and the Giants Promenade Pier. )

Some Catfood updates - WebCamSaver has been migrated to .NET 4.8 and has a code signing certificate (less nagging from Windows during install) and updated notifications. The list of webcams has also been updated. Catfood Earth for Android now supports Material You. This was so painful that there is a companion 'making of' post so I can whine about it.
With all the news about San Francisco's crime tsunami I decided to look at the data. Here's an animation of all the crime from 2003 to 2021. Spoiler alert, the only really interesting trend is that there is less of it, and 2020 was a massive dip which makes all of the year on year increase statistics being paraded around at the moment a little less interesting. There is a good contrarian take in The Atlantic as well: The Great Shoplifting Freak-Out.
A few hikes in southern California: Sawmill Flats (in Mount San Jacinto State Park), Ladder Canyon and Painted Canyon (amazing) and Barker Dam and Wall Street Mill (in Joshua Tree NP). One in Sonoma: Creekside Trail to Big Leaf Trail Loop.
Windows 11... it's great except for the bits you need to use.
Also a Barn Owl.
Previously:

3/5

4/5

5/5

A timelapse of Lake Merced in San Francisco, California on a stormy December day.
(Previously: Merced)
(Published to the Fediverse as: Lake Merced Timelapse #timelapse #lakemerced #sanfrancisco #video Lake Merced (San Francisco, California) time lapse on a stormy day in December. )
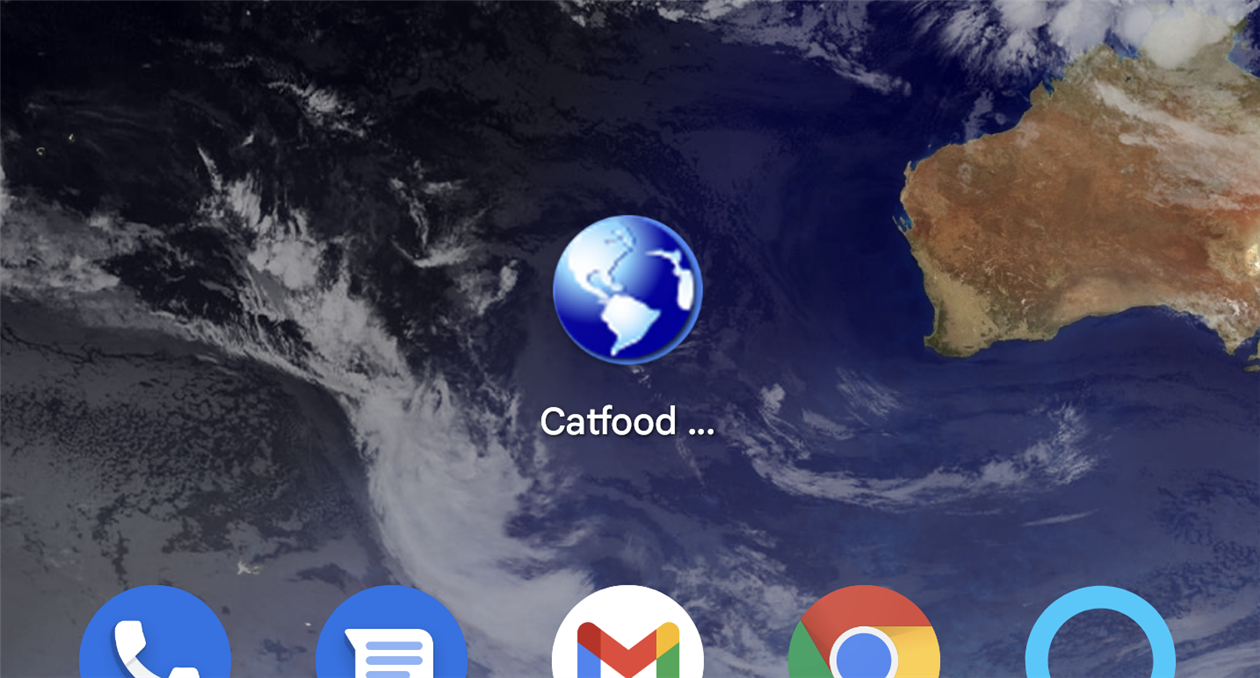
Catfood Earth for Android 4.20 adds support for Material You, the custom color scheme introduced in Android 12. By default every wallpaper update will also subtly change your system color palette. You can override this from settings -> Wallpaper & style and switch back to basic colors if you don't like the Catfood Earth colors. This update was surprisingly painful. You can install Catfood Earth from Google Play, or for existing users it will automatically update in the next day or so.
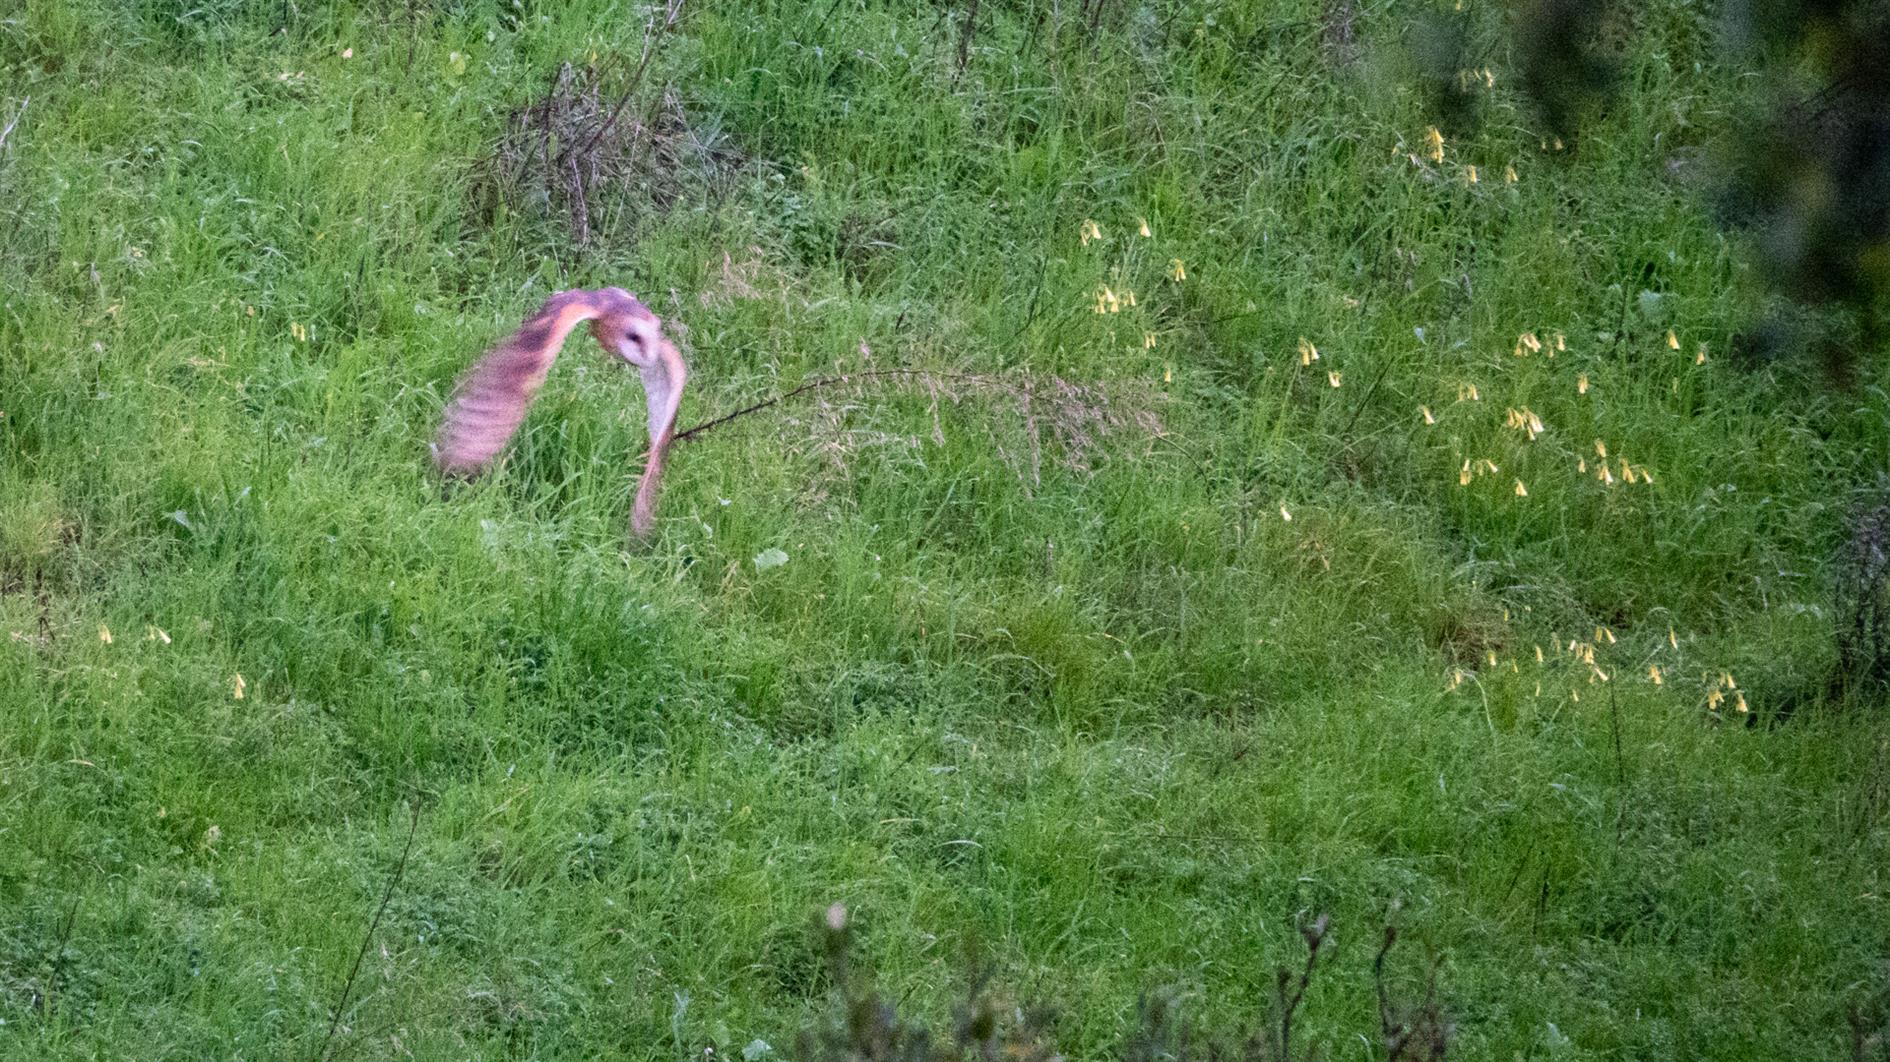
SONY DSC-RX10M4 220mm f4.0 1/100s ISO6400
A Barn Owl hunting in Glen Canyon Park, San Francisco on Christmas Eve 2021.
(Previously: Great Horned Owlets)
(Published to the Fediverse as: Barn Owl #photo #owl Photo of a Barn Owl hunting in Glen Canyon Park, San Francisco, California. )

I have been trying to update Catfood Earth for Android to support Material You in Android 12. This sets a color palette from your wallpaper and other than making notifications harder to manage seems to be the main thing that Google has been working on for the past year. Live wallpaper isn't automatically supported, it's up to you to tell the system about your colors.
Happily there is an overridable OnComputeColors in WallpaperService.Engine, and you can create a WallpaperColors object from a bitmap so this looked like a five minute update. Hahahahahahhahahahah.
I spent a few weeks waiting for the Android 12 SDK to be available in Xamarin. I found some pointers to their GitHub and assumed it would show up there and so waited a few weeks. It still isn't there. I found some article about forcing it to install in Visual Studio 2019 that didn't work for me, and then realized that Visual Studio 2019 update checks were crashing. While trying to fix that I found that Visual Studio 2022 has been released and this installs with the Android 12 SDK!
These days I work on side projects when I get the occasional free hour. Almost inevitably that hour is consumed with updating two or three things and then hoping that the next time I get some time at least I'll be ready to go. But when that hour arrives I'm back to updating again.
So finally I have the right SDK and drop in an OnComputeColors and a call to NotifyColorsChanged when my wallpaper is updated. Time to start testing. The good news is that Material You is now working with Catfood Earth selected as the current wallpaper. The bad news is that every time I call NotifyColorsChanged the launcher disappears and I'm just left with the wallpaper and no icons or search box. Probably not a good experience. I try moving the NotifyColorsChanged call around to different points in code and it makes no difference. This simple update is rapidly spiraling from minutes to days to weeks.
Maybe it's some Xamarin bug, or something in Android 12 or maybe a change in the solemn contract between live wallpaper services and the rest of the system. Can't find any hint of any of this on the Internet.
It's also possible that the bitmap I'm passing is too large or too complex or too something else. So let's try just sending back a simple WallpaperColors in OnComputeColors and see if that helps.
The Android documentation for WallpaperColors suggests that you can construct it from three colors which seems sensible. The Xamarin implementation takes ColorObject instead of Color. What is a ColorObject? The sparse Xamarin documentation suggests that it has an empty constructor that creates an opaque black color and then properties like Red that are read only. So an immutable black? That can't be right? When constructing a color the constructor would seem like a great place to tell the class what color it is. Failing that, a FromColor or FromArgb would seem to follow the right sort of convention. But no. You need to find ValueOf. To create a color that is a class and not a value. Sigh. Maybe that is some kind of deep Android convention that I would just know if I did this more often than once a year or so.
Although, maybe most Google Developers can't figure out how to make a non-black color and that's the origin of Material Design 2. Everything else is just marketing rationalization on top of a terrible API.
Finally I have a simple WallpaperColors to test with but my build has broken. At some point while figuring out how to get a ColorObject that isn't black I thought a NuGet package would help. My project is now completely broken. My experience with touching NuGet is that you can either spend several days unpicking the carnage or just start over. Git reset --hard HEAD it is then.
After quickly reimplementing the changes so far, returning a vanilla WallpaperColors object works... and so does the FromBitmap version. So 90% chance that I bodged something subtle the first time and didn't make the mistake on the second pass. 10% chance it was something strange in Visual Studio.
(Published to the Fediverse as: The Secret Diary of a Xamarin Android Developer, Aged 48 1/3 #code #android #xamarin #catfood #earth An adventure in persuading Android live wallpaper to support Material You colors via the magic of Xamarin and weeks of frustration. )