TensorFlow Hub has a great sample for transferring the style of one image to another. You might have seen Munch's The Scream applied to a turtle, or Hokusai's The Great Wave off Kanagawa to the Golden Gate Bridge. It's fun to play with and I wondered how it would work for a timelapse video. I just posted my first attempt, four different shots of San Francisco and I think it turned out pretty well.
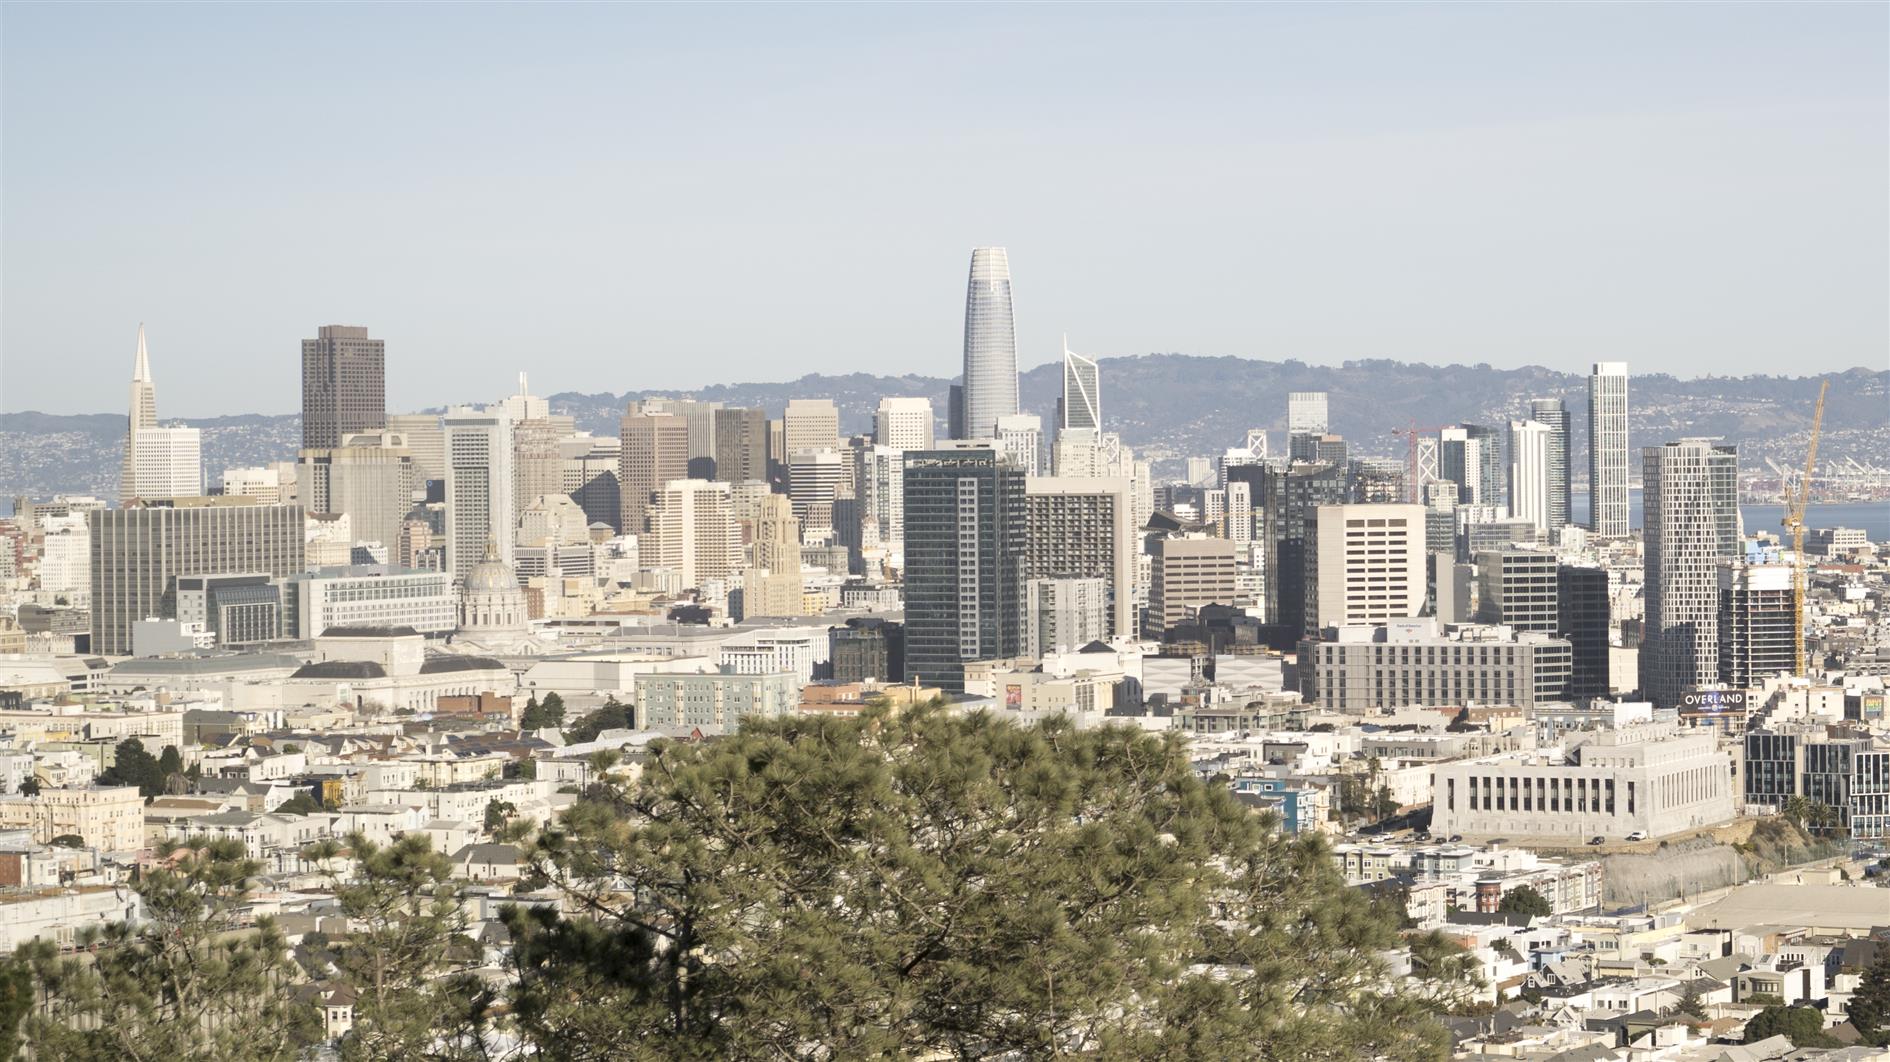
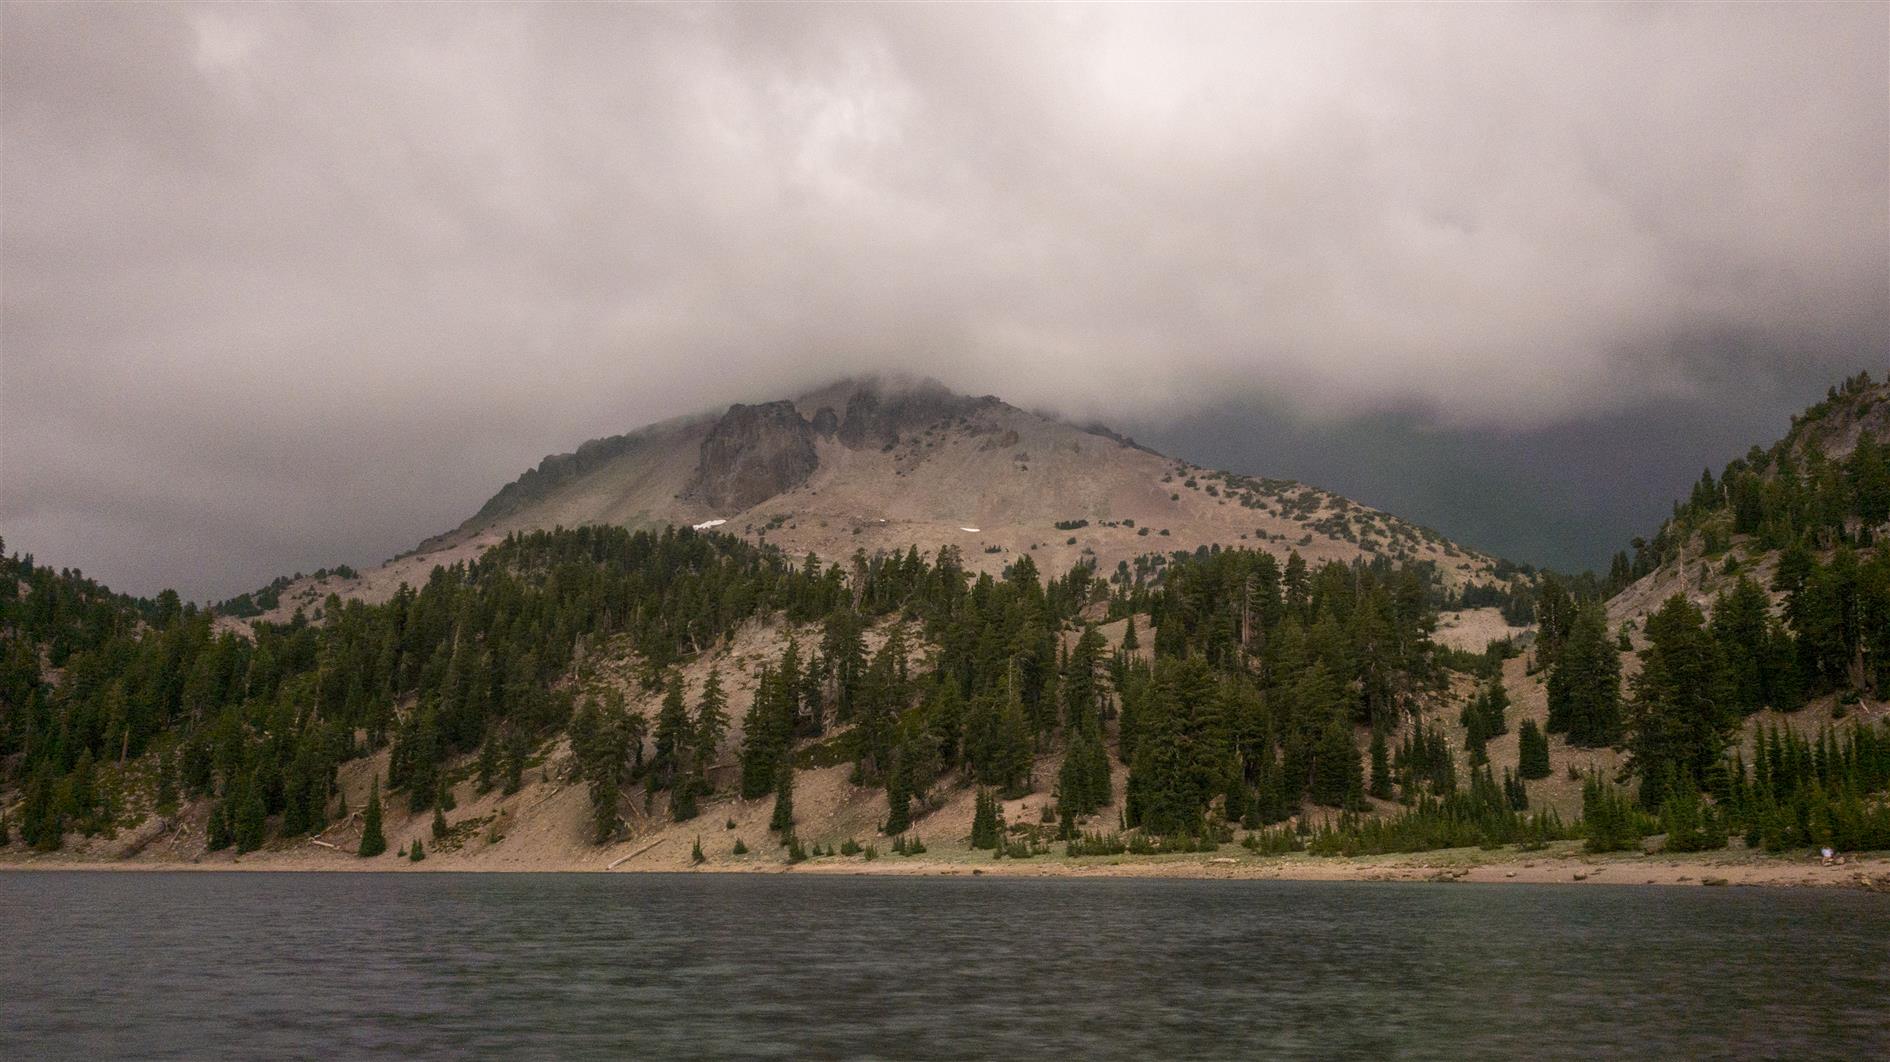
The four sequences were all shot on an A7C, one second exposure, ND3 filter and aperture/ISO as needed to hit one thousandth of a second before fitting the filter. Here's an example shot:
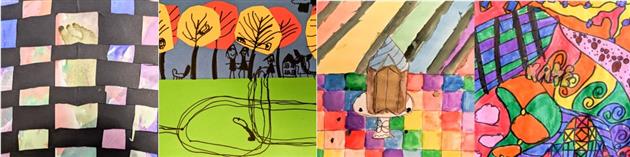
I didn't want The Scream or The Wave, so I asked my kids to pick two random pieces of art each so I could have a different style for each sequence:
The style transfer network wants a 256x256 style image so I cropped and resized the art as needed.
The sample code pulls images from URLs. I modified it to connect to Google Drive, iterate through a source folder of images and write the transformed images to a different folder. I'm running this in Google Colab which has the advantage that you get to use Google's GPUs and the disadvantage that it will disconnect, timeout, run out of memory etc. To work around this the modified code can be run as many times as needed to get through all the files and will only process input images that don't already exist in the output folder. Here's a gist of my adapted colab notebook:
One final problem is that the style transfer example produces square output images. I just set the output to 1920x1920 and then cropped a HD frame out the middle of each image to get around this.
Here's a more detailed workflow for the project:
I usually shoot timelapse with a neutral density filter to get some nice motion blur. When I shot this sequence it was the first time I'd used my filter on a new camera/lens and screwing in the filter threw off the focus enough to ruin the shots. Lesson learned - on this camera I need to nail the focus after attaching the filter. As I've been meaning to try style transfer for timelapse I decided to use this slightly bad sequence as the input. Generally for timelapse I shoot manual / manual focus, fairly wide aperture and ISO 100 unless I need to bump this up a bit to get to a 1 second exposure with the filter.
After shooting I use LRTimelapse and Lightroom 6 to edit the RAW photos. LRTimelapse reduces flicker and works well for applying a pan and/or zoom during processing as well. For this project I edited before applying the style transfer. The style transfer network preserves detail very well and then goes crazy in areas like the sky. Rather than zooming into those artifacts I wanted to keep them constant which I think gives a greater sense of depth as you zoom in or out.
Once the sequence is exported from Lightroom I cancel out of the LRTimelapse render window and switch to Google Colab. Copy the rendered sequence to the input folder and the desired style image and then run the notebook to process. If it misbehaves then Runtime -> Restart and run all is your friend.
To get to video I use ffmpeg to render each sequence. For this project at 24 frames per second and cropping a 1920x1080 frame from each of the 1920x1920 style transfer images.
Then DaVinci Resolve to edit the sequences together. I added a 2 second cross dissolve between each sequence and a small fade at the very beginning and end.
Finally, music. I use Filmstro Pro and for this video I used the track Durian.
A timelapse of San Francisco on New Year's Eve 2020:
Shot from Treasure Island, Corona Heights Park. Fort Baker and near Battery 129 in the Marin Headlands. Each sequence was transformed with a style transfer neural network (full details).
Mariposa Loop in Briones Regional Park near Lafayette. Park near Happy Valley Elementary School and then head up Panorama Drive to the top to get the trailhead. It's just over three miles. The first mile goes up 600 feet without stopping and the views are fantastic in every direction. This is the first time we've visited Briones, will be back soon as it looks like it has a lot of decent loops.
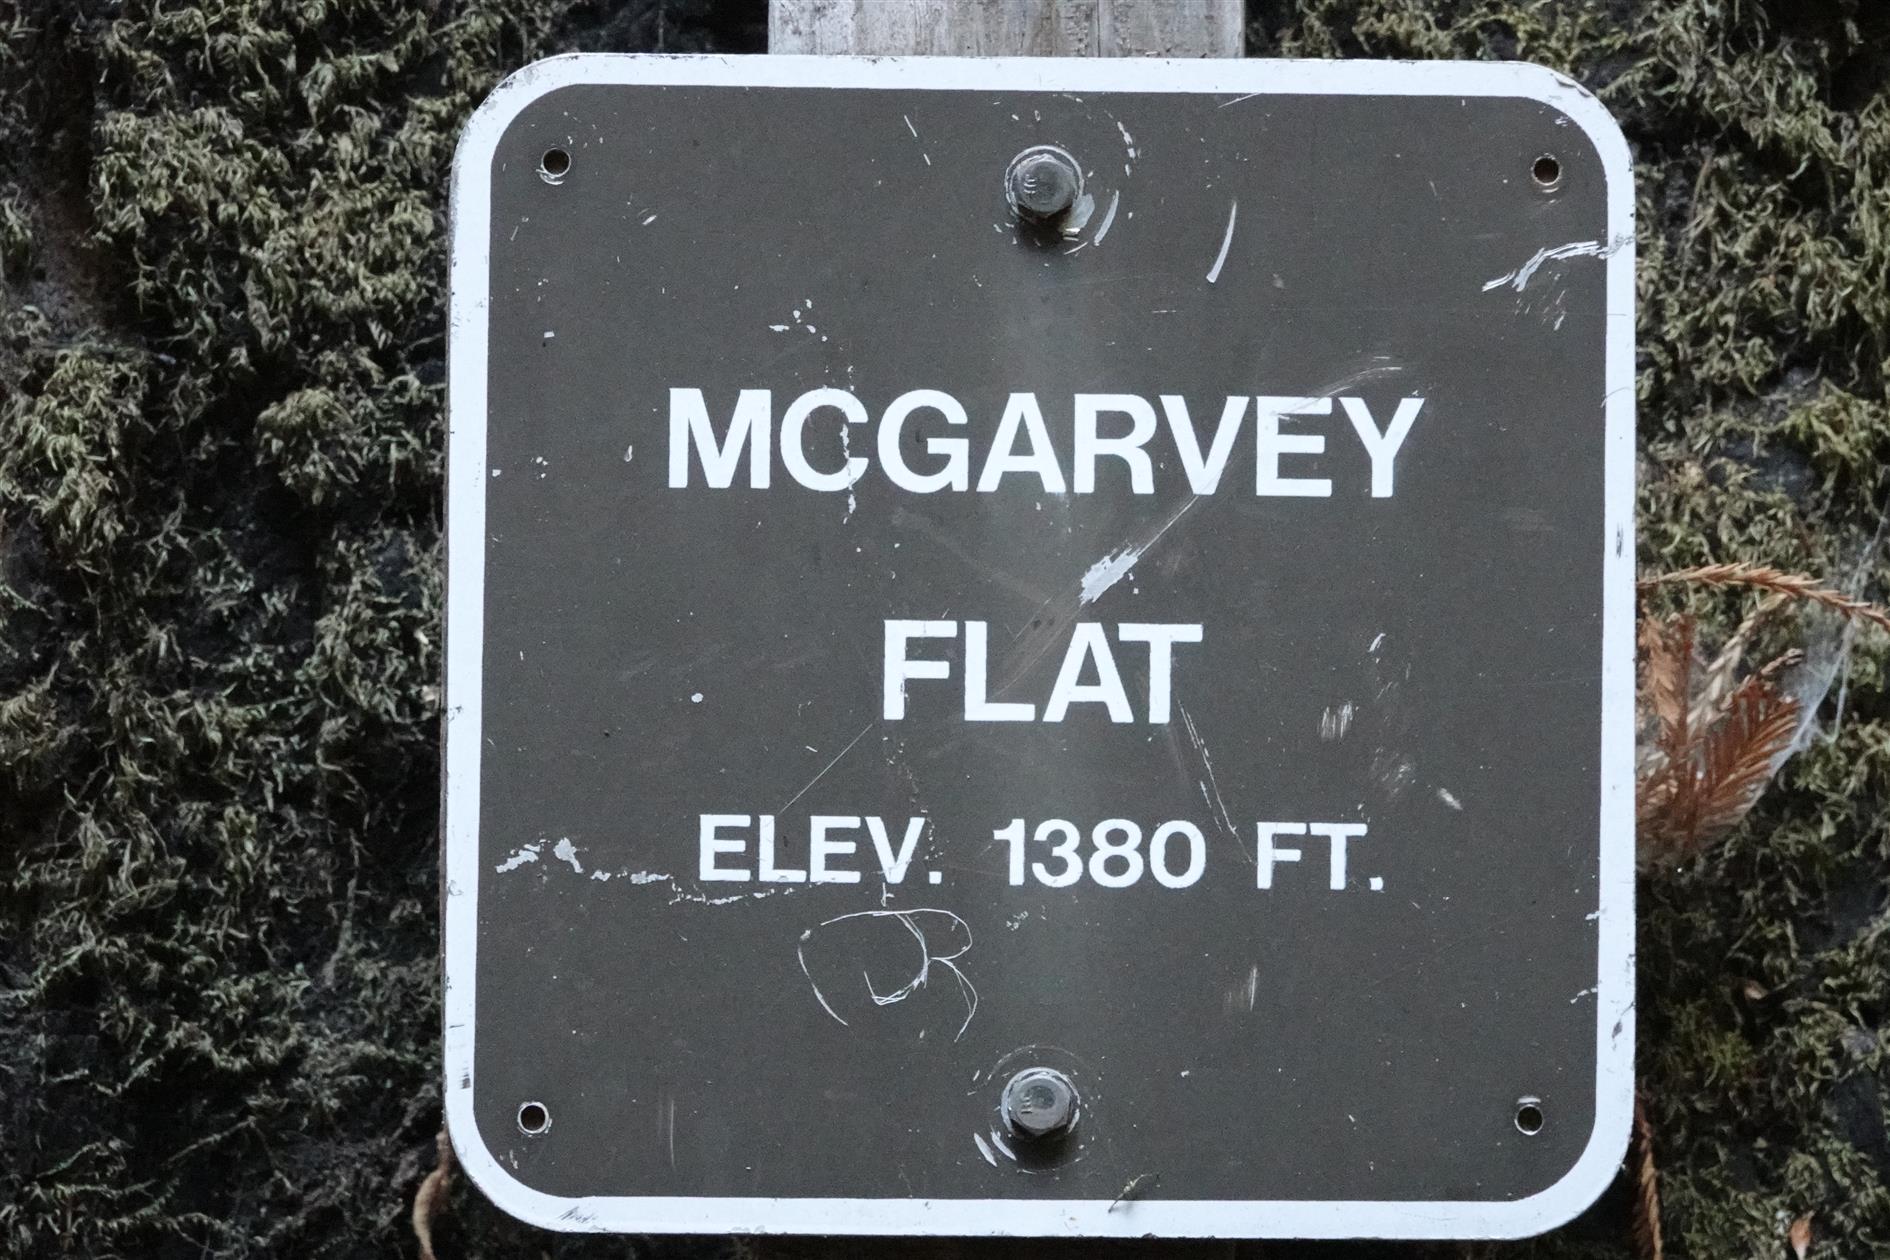
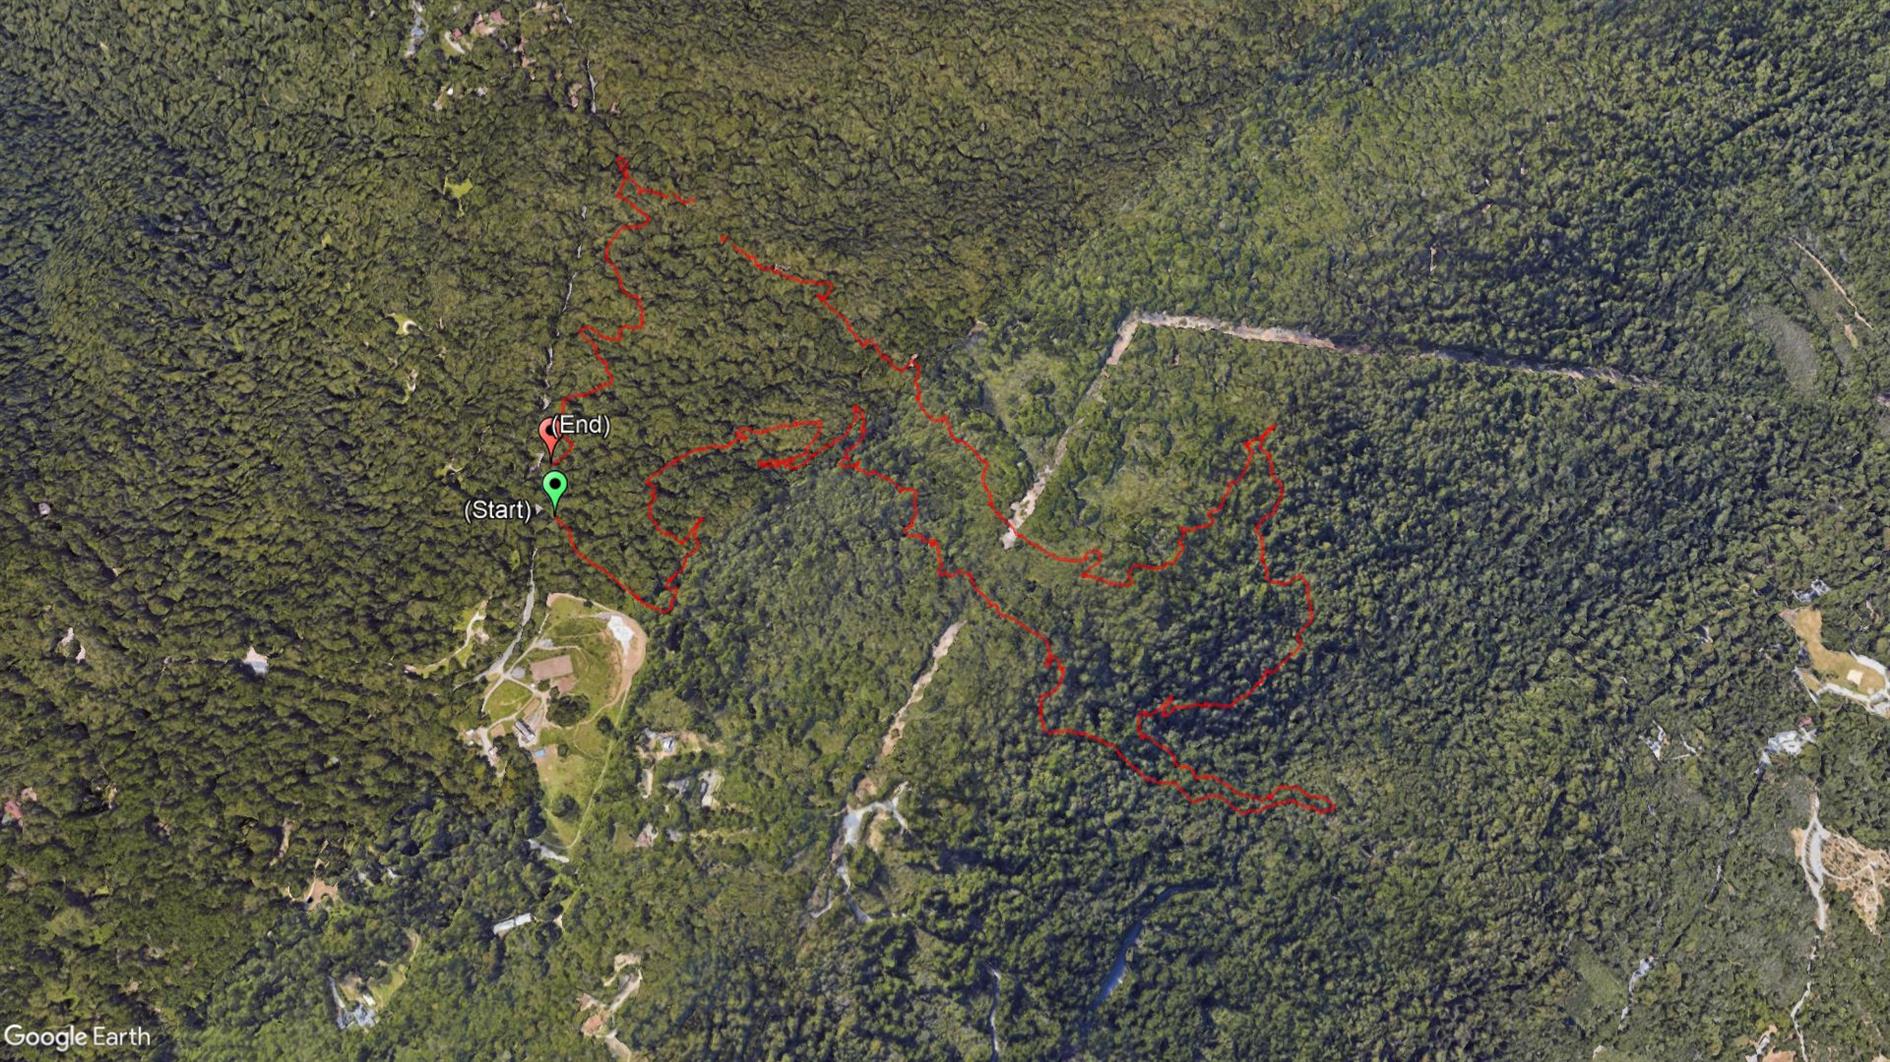
A 4 mile loop starting at Skyline Boulevard and descending through dense forest from 2,000 feet to McGarvey Flat at 1,380 before ascending in slightly brighter but still shaded conditions. Perfect on a warm day. This is in Huddart Park in San Mateo county, just the other side of 35 from Purisima Creek. The hyperlapse video shows the second half of the hike.
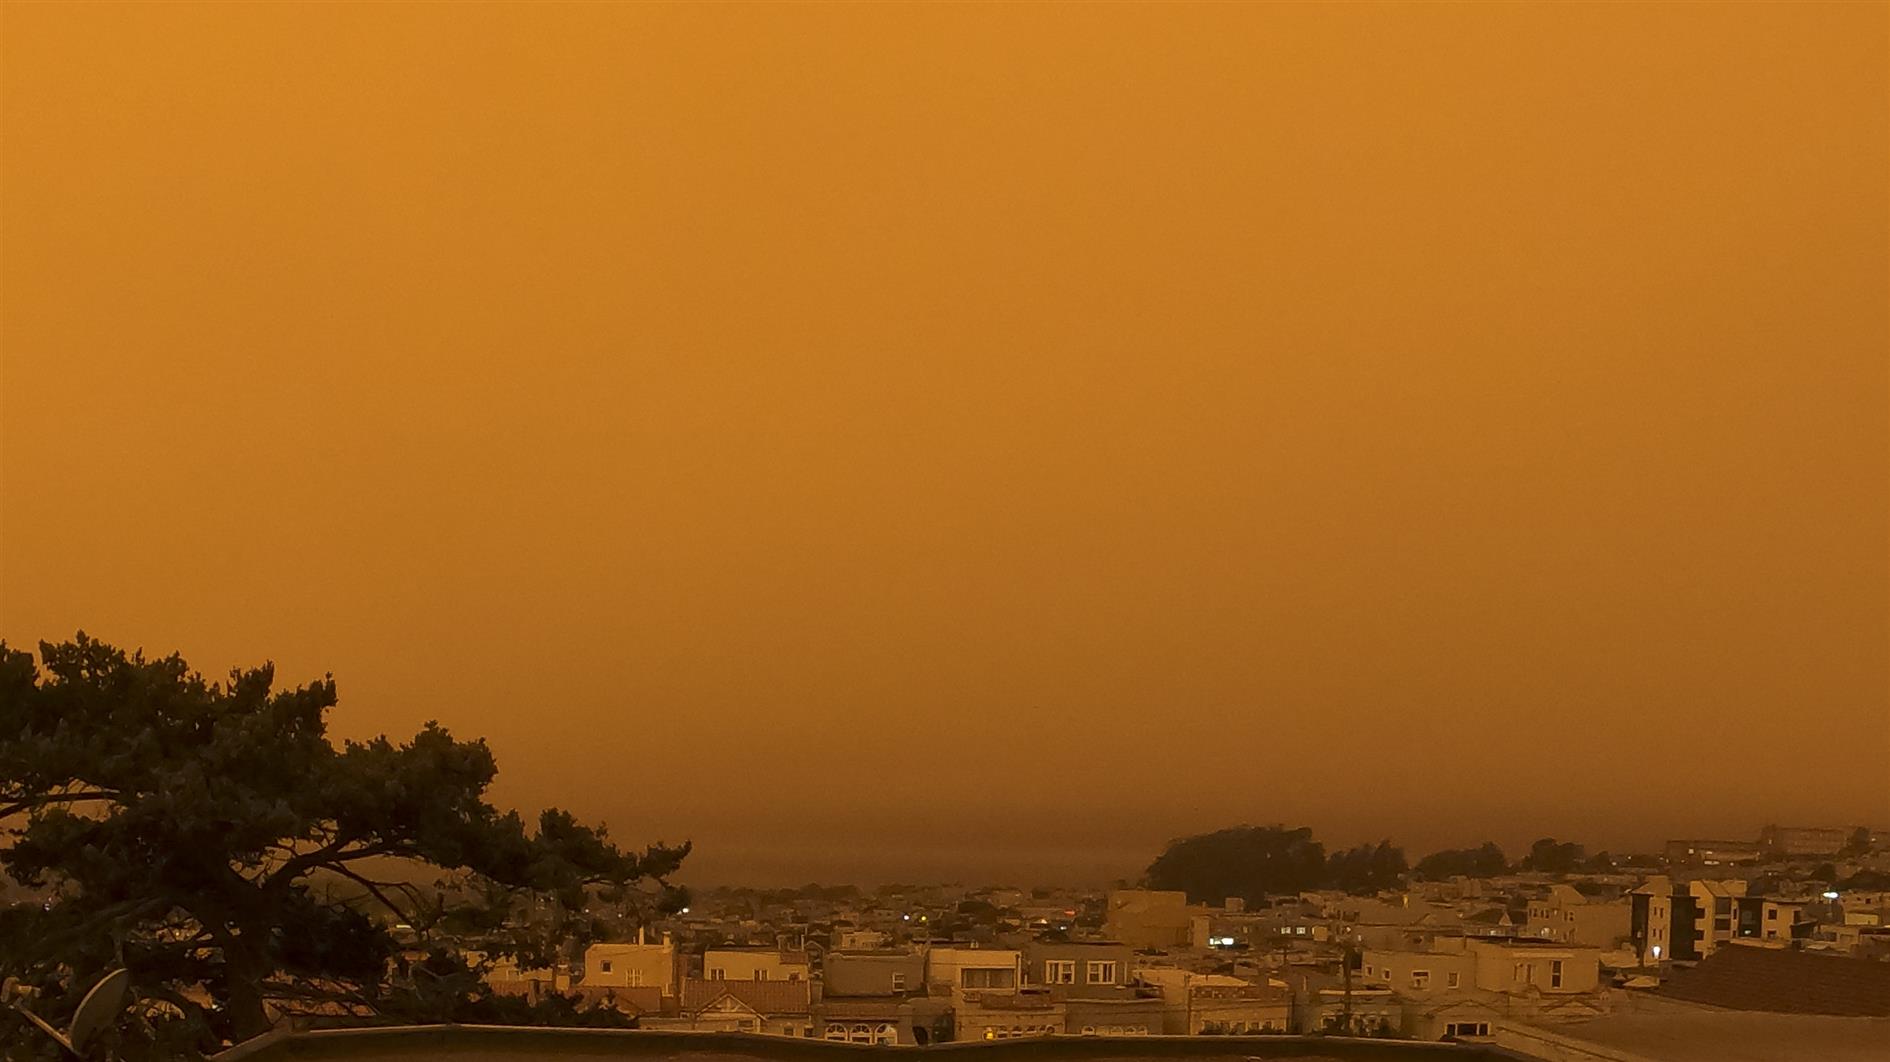
A timelapse combining the mid-August storm and the 'day without a sunrise' on September 9, 2020 in San Francisco (lightning from the storm contributed to the wildfires that blocked the sun).
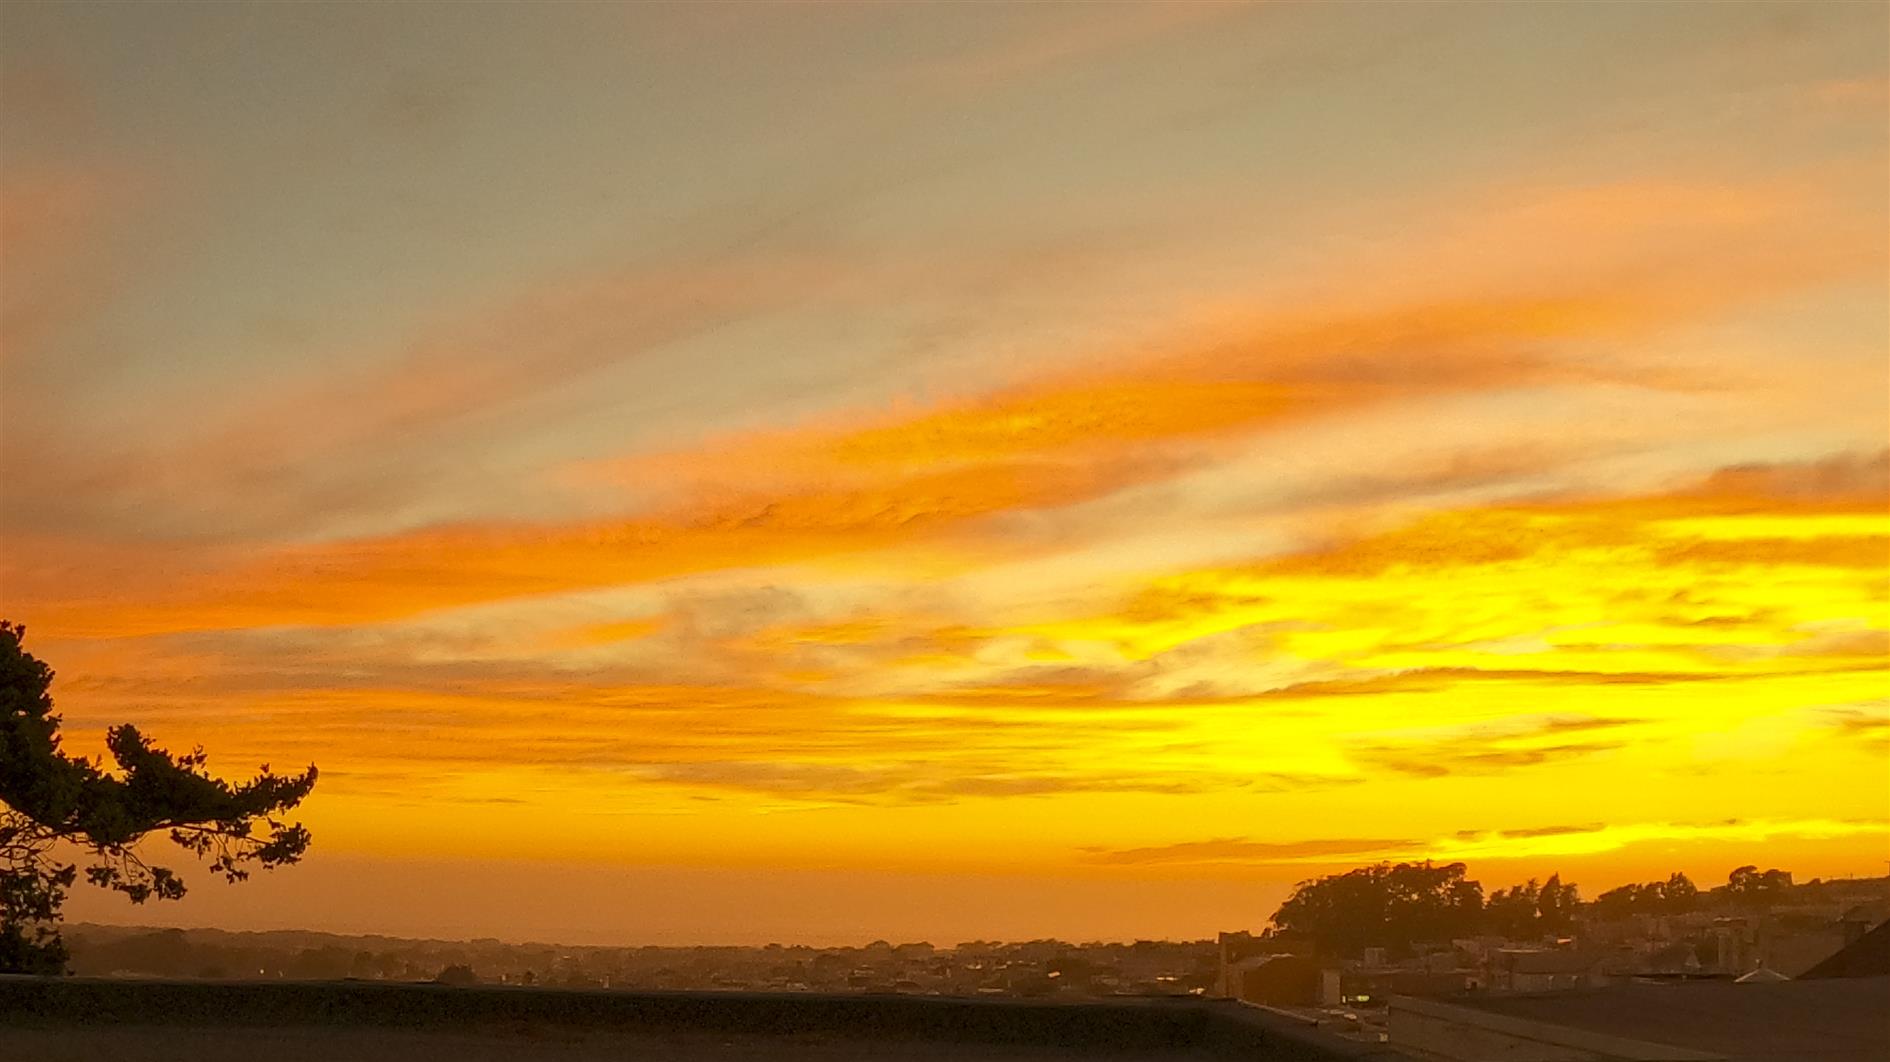
Spectacular sunset the other night, the kind where I really wish I'd left a timelapse running an hour earlier. This time I did! It was just a test run of a new GoPro Hero 8 Black to see what the nightlapse mode is capable of. I left everything on auto, including the interval, which I thought was an odd thing to have an auto mode for but that it might produce some interesting effects. Nope. The GoPro does a nice job of ramping down the shutter speed and ramping up the ISO, but it just randomly toggles the interval between one and two seconds occasionally which just glitches the video. So won't be using that mode again.
Unusually good night sky conditions in San Francisco recently. Here's a video of several timelapses shot over the last couple of months. The sequences are: (super) moonrise, no Lyrids over Sutro Tower, Ursa Major rotating around Polaris, Orion setting, moonset.
In 2020 the Summer Solstice is at 9:44pm UTC on June 20.
We get solstice from the Latin sol (sun) and sistere (to cause to stand) - the moment when the Sun stands still in its journey from north to south and back again.
Summer Solstice is the instant when the Sun is at its highest point in the sky, on the longest day of the year for the Northern hemisphere. This happens because the Earth is tilted by a little over 23 degrees (our planet rotates once a day, but relative to our orbit around the Sun the axis of rotation is at an angle). As we orbit the Sun this tilt means that different latitudes experience more or less sunlight over the course of a year. This pattern is most extreme near the poles. In the Arctic Circle the Sun never sets at the height of summer and never rises in the depth of winter. We mark two solstices each year, summer and winter. At the Summer Solstice the Sun is directly over the Tropic of Cancer (a little over 23 degrees north). We also observe two equinoxes, spring and fall (vernal and autumnal), halfway through the cycle when the Sun is directly over the Equator and a day is the same length everywhere.
The video below shows how the pattern of day and night changes over one year. You can see when the poles are completely dark or light, and the moment when the Sun 'stands still' before days start to get longer or shorter again.
Here's another perspective. This video shows a view from San Francisco made from pictures that each show a complete day (each vertical line on the picture was shot at a different time with noon at the center). You can see the length of day changing throughout the year. On less foggy days you can also see the position of sunset moving, especially with the days getting longer towards the end when San Francisco experiences less fog.
Summer Solstice isn't always on June 20th - sometimes it's June 21st or June 22nd. Irritatingly a day on your clock is not the same as a solar day and a calendar year is not the same thing as one trip around the Sun. This is why we have leap years and leap seconds to stay roughly in sync with celestial mechanics.
It's also interesting to note that Summer Solstice isn't when we're closest to the Sun or when temperatures are the highest. The Earth's orbit is elliptical and we're actually furthest away around the Summer Solstice (for now - this changes over time). Our Northern hemisphere summer is driven by sunlight hitting us directly rather than at an angle (seasons are driven by the 23 degree tilt and the position of the orbit more than our distance from the Sun). Temperatures continue to rise after the Summer Solstice mainly because it takes a while to heat up water, and so warmer weather lags the increase in direct sunlight (and vice versa as we head into colder weather after the Winter Solstice).
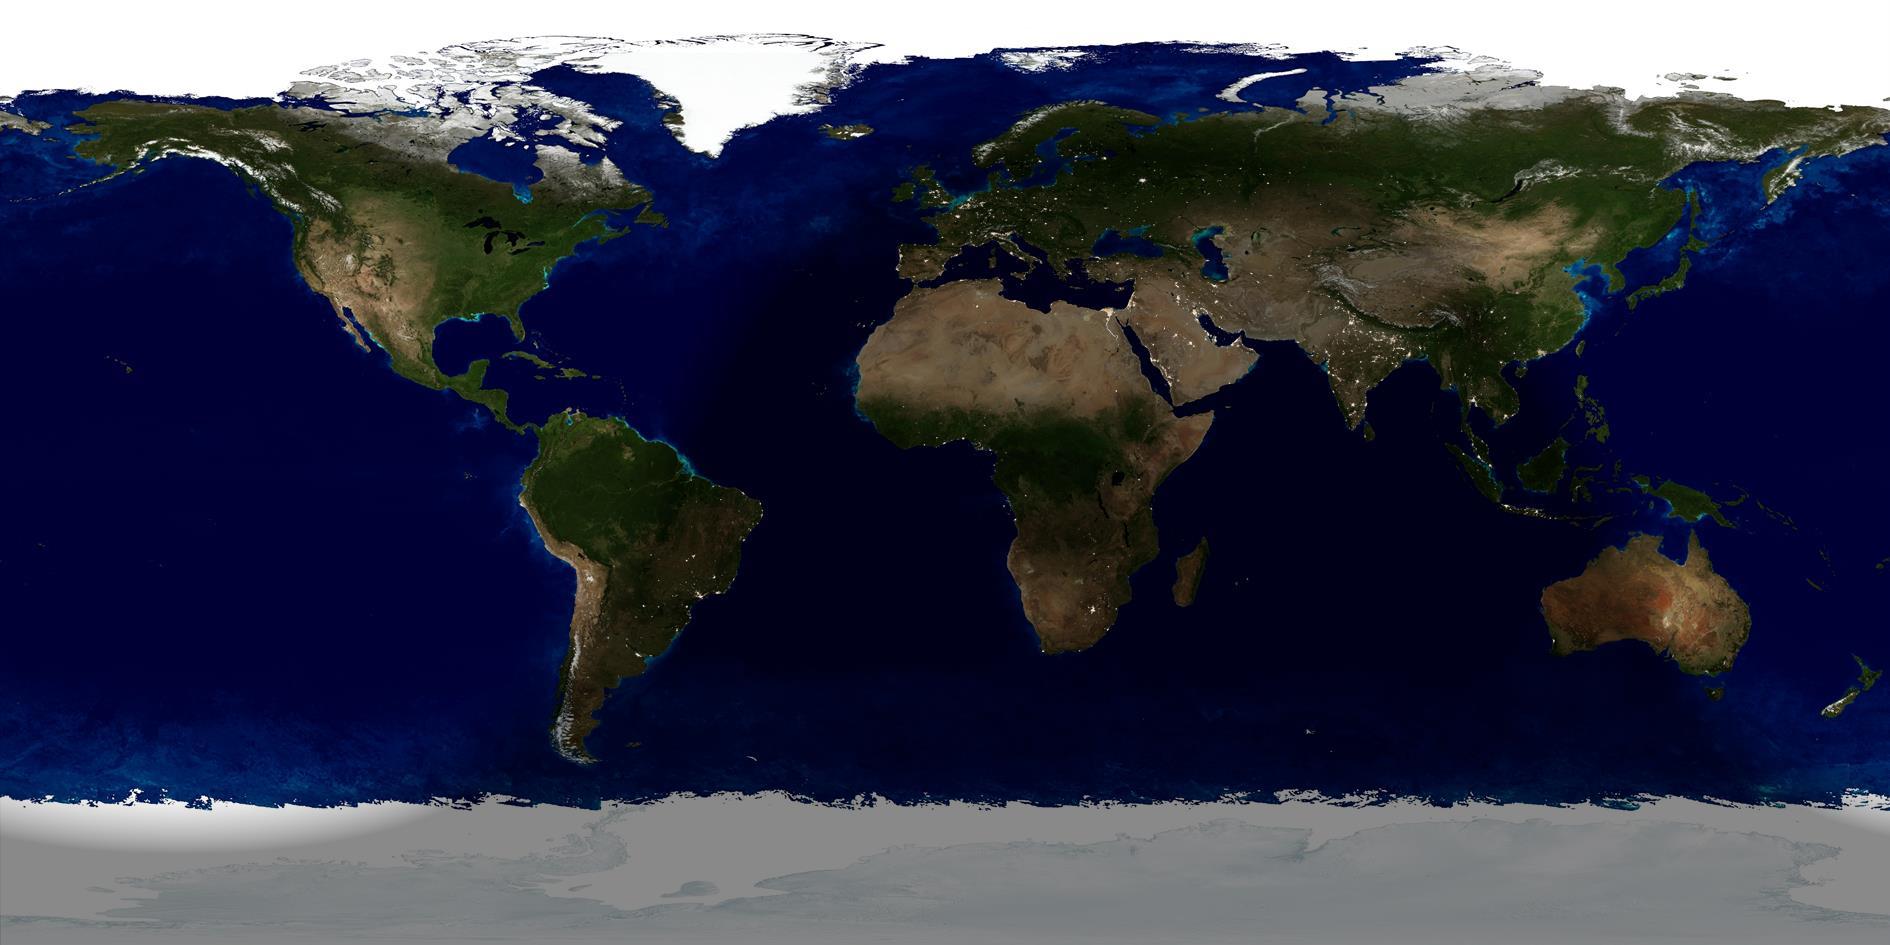
The exact moment of Summer Solstice pictured at the start of the post and the video of day/night over a year were created using Catfood Earth. Catfood Earth generates wallpaper from NASA Blue and Black Marble images to show the current extent of day and night combined with near real time cloud cover. Catfood Earth is totally free and available for Windows and Android.
I tried this with a solar transit last year and discovered that my expensive phone can't keep time. Learned my lesson - for this lunar transit I shot video a few minutes before and after. The video is 4K and has the unedited 1 second transit and a zoomed in slow version where you can actually see the thing. Unfortunately this means the composite at the top is made from frames extracted using ffmpeg. Next time, two cameras, so I can attempt a burst as well as a video.