Memo to future: How to reassemble Kate’s cot
By Robert Ellison. Updated on

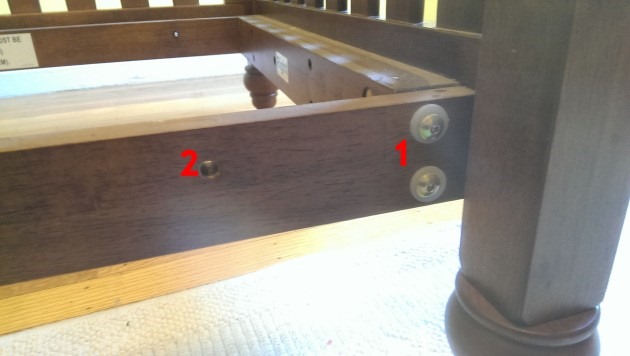
The long bolts with plastic washers attach to the head and foot of the cot (1). These are easier to screw in using a drill with a hex bit. Put the four smallest bolts through the holes (2) before attaching the sides or you’ll be taking the sides off again. These will be used to attach the mattress spring.

Cams go in the head and foot (1), smallest bolts as described above (2).

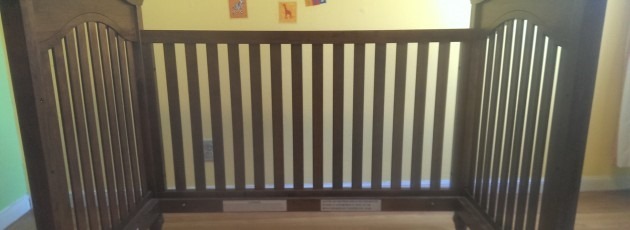
Now just attach the sides with the medium bolts and then the mattress spring using the wing nuts.

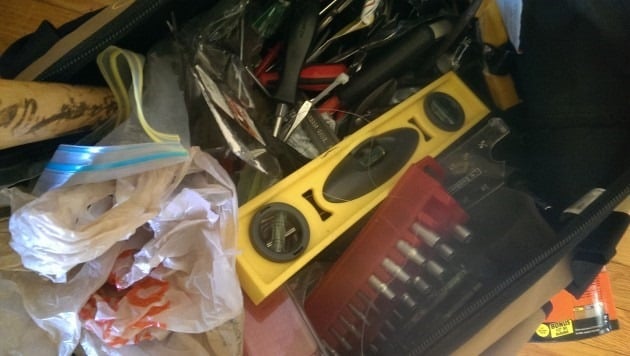
Missing one of the medium bolts? It’s in this bag somewhere. When asking Kate to help by putting bolts in a bag remember to be very, very specific about which bag next time. The rest of the hardware is in a Ziploc in a side pocket.
Add Comment
All comments are moderated. Your email address is used to display a Gravatar and optionally for notification of new comments and to sign up for the newsletter.