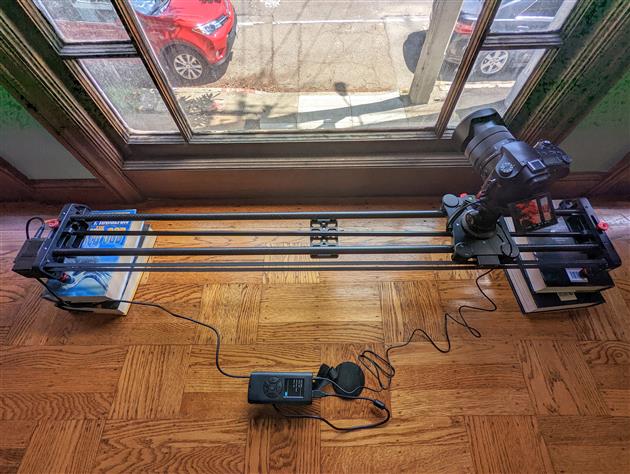
Time Lapse Settings for GVM GR-80QD and GR-120QD Motorized Sliders
I've been experimenting with a four-foot Great Video Maker GR-120QD slider for timelapse photography. So far I'm impressed with the quality for a relatively cheap device but the controller is a little hard to understand. There are various YouTube videos that explain this at length but I find a quick written explanation more helpful (and as much as anything, this post is for me to refer back to quickly!). These instructions will also work for the three-foot GR-80QD.
The first thing to understand is that you need to recalibrate the device every time you power it on. It's a bit of pain but fast once you get the hang of the Konami Cheat Code style UI. Go to settings, Set Start and then hit the left button to start moving. When you get to the desired start point press the center button to stop the slider, long press the center button to save it and then long press again to up a level in the menu. Do the same for the end point at the right side of the slider. More long presses to get back up to the top menu.
Now the fun part. For timelapse you have Interval, Time-lapse, Stop Time, Photo and Auto Loop and the user guide is silent on what any of those might do.
When shooting a timelapse the slider is going to move, stop for a bit and shoot and then move again.
Stop Time is the total amount of time that the slider stops for each shot (seconds).
Time-lapse is the number of seconds to wait after stopping before the shot is taken. This allows the camera a chance to stabilize after being moved along the slider before a shot is taken. The system enforces at least 0.2 seconds but you probably want this a bit longer.
Shutter time is in the hands of the camera.
So if you have a 1 second shutter speed and want to shoot every 4 seconds you would set Stop Time to 4 and time-lapse to something like 1. The slider will then move, wait 1 second, trigger the shutter, wait 3 seconds (the remainder of the 4 second Stop Time) and will then move again.
If Auto Loop is set to No then the system will stop shooting when it reaches the end of the slider, so you can set Photo to a large number and not worry about it. If Yes the camera will go back and forth until it hits the count of photos in the Photo setting.
The last thing to worry about is how far the slider moves between shots. This is a combination of Interval and the slider speed, which you set when you start the time lapse. The minimum interval is 0.1 - I haven't tried anything else. At 70% speed this takes about 45 mins (based on the 4 second stop time) and shoots almost 700 photos which for me is a pretty decent sequence. This part is not a science so you'll need to experiment to get the result you're looking for.
When the settings all look good, hit the center button and you will go to the time lapse screen. Adjust the speed with the up and down arrows and then hit the right or left button to start shooting in that direction.
Updated 2022-08-29 17:43:
Here is some test footage at 60% speed and 0.1 interval. The video starts siding to the left (camera pans to right) at 1/1000s shutter. The last section reverses direction and has a 1s shutter with an ND3 filter to check for any shake. Both sections are shooting every 4 seconds with a 1 second 'Time-lapse' (or stabilization time) setting.

Add Comment
All comments are moderated. Your email address is used to display a Gravatar and optionally for notification of new comments and to sign up for the newsletter.